
TL;DR:
- Replacing your floors involves careful preparation, including subfloor flatness and moisture testing, to ensure longevity. The process requires room clearing, proper subfloor assessment, acclimation, and appropriate installation methods tailored to your flooring type. Proper finishing and addressing common homeowner errors are essential for a durable, long-lasting result.
Replacing your floors is one of the most impactful upgrades you can make to a home, yet the floor replacement process trips up even well-intentioned homeowners every year. The gap between a successful install and a costly do-over usually comes down to preparation, not skill. Whether you're considering DIY floor replacement in a rental unit or hiring a professional crew for your primary residence, knowing what happens at each stage changes everything. This guide walks you through the full process, from clearing the room to the final trim piece, so you go in with clear expectations and come out with floors that last.
Table of Contents
- Key takeaways
- What the floor replacement process actually involves
- Subfloor assessment before any new floor goes down
- Step-by-step installation methods
- Finishing touches that protect your investment
- My honest take on where homeowners go wrong
- Ready to start your floor replacement with confidence?
- FAQ
Key takeaways
| Point | Details |
|---|---|
| Subfloor prep is non-negotiable | Skipping flatness and moisture checks causes premature failure and voids most manufacturer warranties. |
| Moisture testing saves money | Use ASTM F2170 probes on concrete slabs to catch moisture problems before they destroy your new floors. |
| Acclimation time matters | Most flooring materials need 2 to 5 days to acclimate to your space before installation can begin. |
| DIY has real limits | Click-lock vinyl and laminate are manageable for confident DIYers; glue-down and nail-down hardwood usually benefit from professional installation. |
| Finishing details protect longevity | Trim must be nailed to walls, not through flooring, and transition strips are required in large open areas to allow proper expansion. |
What the floor replacement process actually involves
Most homeowners picture the floor replacement process as: pull up old floor, put down new floor. The reality has more stages, and each one affects the outcome of the next. Think of it less like swapping out furniture and more like a small construction project with gating steps you cannot skip.
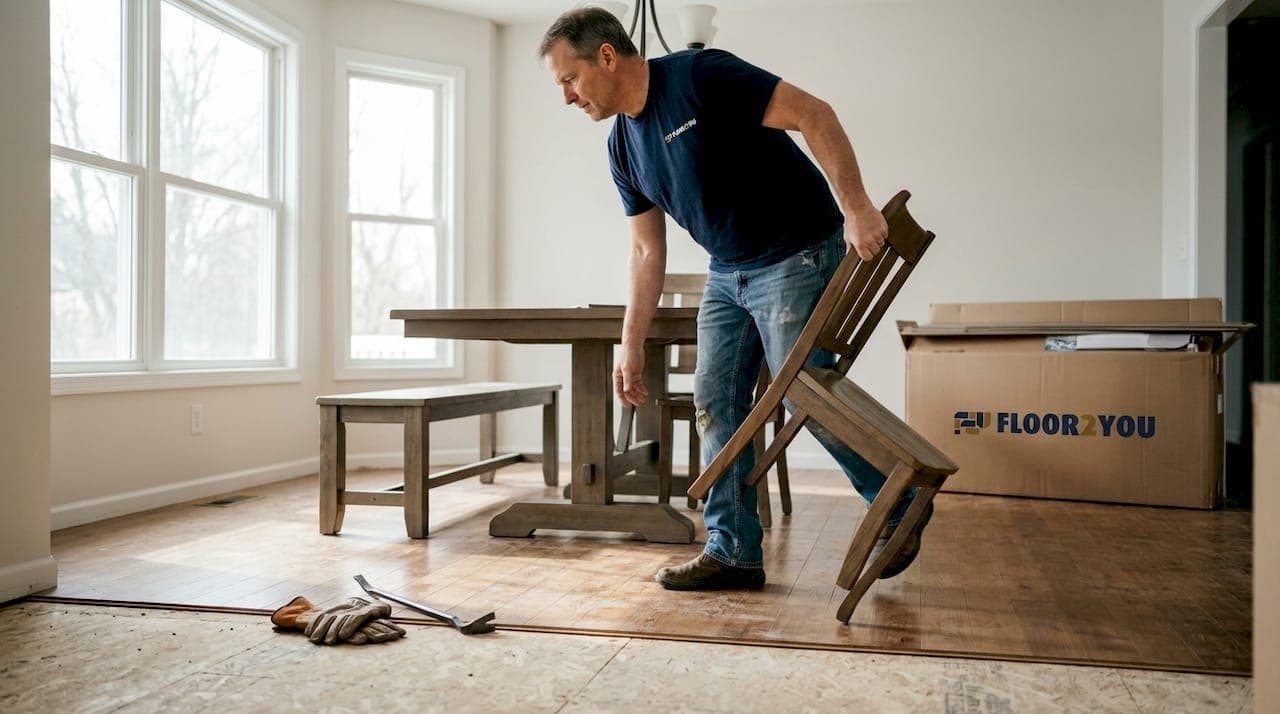
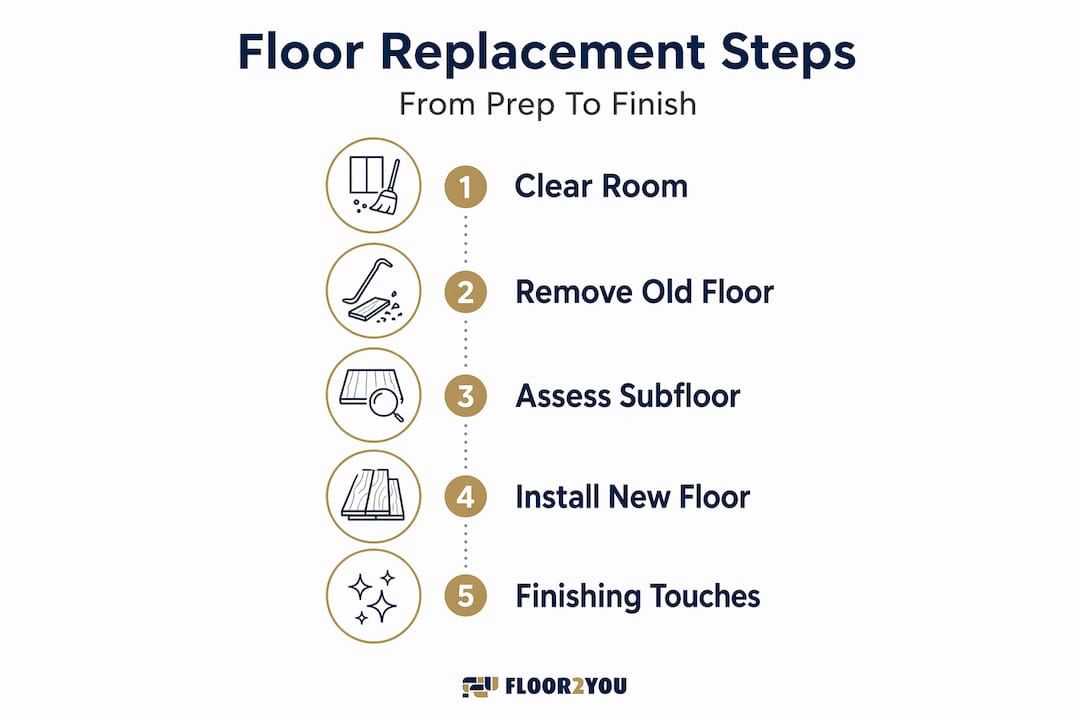
The flooring removal process comes first, but before a single board comes up, you need to clear the room completely. Remove all furniture, disconnect appliances if the room includes any, and relocate anything fragile. This sounds obvious, but skipping a thorough clear-out creates real hazards when you're swinging a pry bar.
Once the room is empty, remove the baseboards carefully using a utility knife to score the paint line and a pry bar to ease them off the wall. Save them if they're in good shape. Installing new floors directly over old flooring is tempting when the old surface looks flat, but installing over old flooring can void your warranty and hide moisture problems underneath.
Tools and materials checklist
Getting your supplies together before day one prevents the mid-project hardware store run that derails timelines. Here's what most projects require:
| Category | Items |
|---|---|
| Removal tools | Pry bar, floor scraper, utility knife, hammer |
| Measurement and layout | Tape measure, chalk line, speed square, spacers |
| Installation tools | Tapping block, pull bar, rubber mallet, saw (circular or miter) |
| Safety gear | Knee pads, safety glasses, dust mask |
| Materials | Flooring planks or tiles, underlayment, transition strips, adhesive (if needed) |
Pro Tip: Budget an additional 10 to 15 percent of your material cost for unexpected subfloor repairs. Finding a soft spot or high ridge once the old flooring is off is far more common than most guides admit.
Subfloor assessment before any new floor goes down
This is the stage most homeowners underestimate, and it's the one that determines whether your floors last five years or twenty-five. The subfloor preparation phase has two main concerns: flatness and moisture.
Checking for flatness
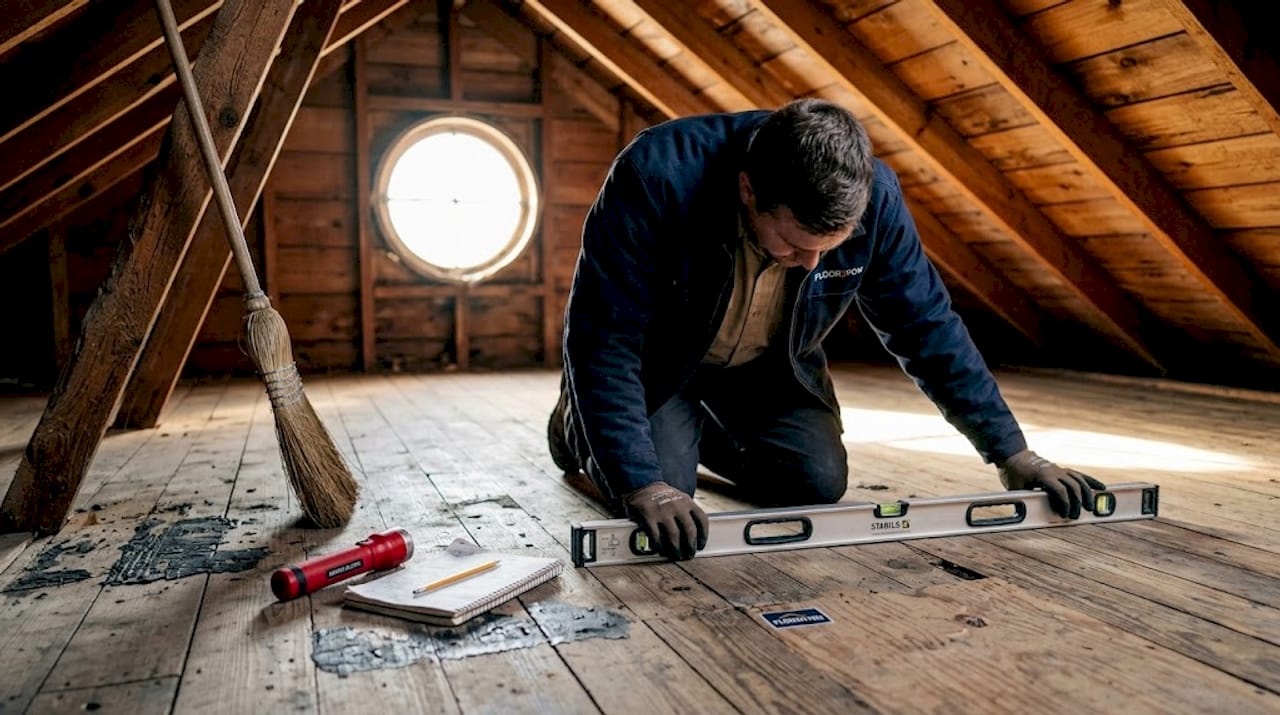
The industry standard for resilient and laminate flooring is 3/16 inch per 10-foot span. High spots wear the flooring prematurely from below. Low spots cause flex, which eventually cracks locking joints. Use a long straightedge or a laser level across the entire surface. Mark every deviation with a pencil. High spots get ground down with a belt sander or grinder. Low spots get filled with a self-leveling compound and allowed to cure fully before you lay anything on top. Even small deviations get telegraphed through flexible flooring, showing up as visible ripples or soft zones.
Moisture testing
On concrete slabs, surface dryness tells you almost nothing useful. A slab can feel dry to the touch while holding significant internal moisture. The preferred method is ASTM F2170 relative humidity probes, which measure moisture inside the slab rather than at the surface. Most manufacturers require RH at or below 75 to 85 percent before installation. Exceeding that threshold risks adhesive failure, cupping, and mold growth beneath the floor.
For glue-down installations specifically, adhesive moisture tolerance tops out around 75 to 80 percent RH. Above that, you need a moisture mitigation membrane or a specialized adhesive rated for higher RH conditions. Moisture testing conducted after HVAC systems are operating at normal conditions gives you a much more accurate picture of real-world risk than testing an empty, unheated space.
Pro Tip: Run your HVAC at typical living conditions for at least 48 hours before conducting moisture tests. Readings from a space without climate control are misleading and can cause you to green-light an installation that will fail within months.
Here's a quick reference for moisture control decisions:
| Slab RH Level | Recommended Action |
|---|---|
| Below 75% | Standard installation, no mitigation required |
| 75% to 85% | Install moisture barrier or use high-tolerance adhesive |
| Above 85% | Moisture mitigation system required before any flooring |
Step-by-step installation methods
Once your subfloor passes flatness and moisture checks, the actual installation can begin. The method depends on your flooring type.
Acclimation first
Before any boards go down, the flooring needs to sit in the room at normal living conditions. Acclimation typically takes 2 to 5 days depending on the material. Hardwood needs more time. Luxury vinyl plank (LVP) needs less. Skipping acclimation is one of the most cited causes of post-installation expansion, gapping, and buckling because the material adjusts to temperature and humidity after it's already locked in place.
Comparing installation methods
| Method | Best For | DIY Friendly? | Key Requirement |
|---|---|---|---|
| Click-lock floating | LVP, laminate | Yes | Flat subfloor, expansion gaps |
| Glue-down | Resilient tile, LVP, some hardwood | Moderate | Moisture control, correct adhesive |
| Nail-down | Solid hardwood, engineered hardwood | No, hire a pro | Wooden subfloor, proper nailer |
| Mortar-set | Ceramic and porcelain tile | Moderate | Rigid, level subfloor |
For click-lock floors, the installation sequence matters. Start from the straightest wall, typically the longest wall in the room. Run planks perpendicular to the main light source when possible, as this reduces the visual appearance of seams. Stagger end joints by at least 6 inches between rows. Leave expansion gaps of about 1/4 inch around the entire perimeter and around any fixed objects like door frames or cabinetry. Use plastic spacers to maintain this gap consistently. Removing them later is easy. Fixing a buckled floor because you forgot them is not.
For glue-down installations, spread adhesive with the correct notch trowel size for your product. Work in small sections and press boards firmly to eliminate air pockets. Avoid walking on freshly glued sections before the adhesive reaches open time.
For hardwood nail-down, this is the territory where professional flooring installation pays for itself. A pneumatic floor nailer, proper nailing patterns, and experience managing wood movement in humidity-variable climates are not easily replicated on a first attempt. The cost of floor replacement from a failed DIY hardwood install typically exceeds what a professional would have charged upfront.
Pro Tip: Common installation mistakes include ignoring expansion gaps, poor subfloor prep, and failing to stagger planks. All three lead to buckling, weak joints, and gaps that show up within the first year.
Numbered installation steps for click-lock LVP
- Confirm subfloor flatness and moisture readings are within spec.
- Install underlayment if not pre-attached to the planks.
- Place spacers along the starting wall.
- Lay the first row with the groove side facing the wall.
- Stagger the second row by cutting the first plank to offset the joint.
- Use a tapping block and rubber mallet to connect planks without damaging edges.
- Continue across the room, checking alignment every few rows.
- Cut the final row to fit, leaving the required expansion gap.
- Remove all spacers before reinstalling trim.
Finishing touches that protect your investment
The installation itself is done, but a rushed finish job undoes careful work. Start by removing all spacers from the perimeter. Reinstall your baseboards or add quarter-round molding to cover the expansion gap. A critical detail: trim must be nailed to the wall, never through the flooring itself. Nailing through the floor pins it down and prevents the expansion the gap was designed to allow. That's how floors buckle in summer.
Use transition strips wherever the flooring meets a different surface, such as a doorway, a tile bathroom entrance, or a carpeted hallway. In large open-plan areas, transition strips allow floor expansion across long distances and prevent stress buildup in the locking joints. Consult your manufacturer's guidelines on maximum uninterrupted run length.
For early care, keep the following in mind:
- Avoid wet mopping for the first 72 hours after installation.
- Place felt pads under furniture legs before moving anything back in.
- Keep interior humidity stable, especially in the first 30 days, to help the floor settle.
- Do not use steam cleaners on LVP or laminate at any point. They void warranties consistently.
Pro Tip: Use your flooring installation checklist to verify every finish step before moving furniture back. Missing a single transition strip or leaving a spacer under a baseboard creates a problem you won't notice until it's harder to fix.
My honest take on where homeowners go wrong
I've seen hundreds of floor replacements, and the pattern is always the same. People obsess over choosing the right plank color and barely think about what's underneath it.
In my experience, subfloor prep is where the project is actually won or lost. A beautiful floor installed over an unchecked slab with high moisture readings will fail. Not might fail. Will fail. And when it does, the conversation about who pays is expensive and unpleasant for everyone.
The other pitfall I keep seeing is timeline pressure. People schedule furniture delivery or book painters before the acclimation period is done, or before moisture mitigation has had time to work. Flooring project timelines routinely underestimate moisture and flatness correction time, and these are literally go or no-go steps. You cannot install on top of a wet slab and then wait for it to dry. It doesn't work that way.
My honest advice on DIY versus professional installation: if you're doing click-lock LVP over a clean, flat, moisture-controlled subfloor, you can absolutely handle it yourself with patience and the right tools. But if your project involves hardwood, tile, an older concrete slab with unknown moisture history, or a large square footage, hire professionals. Not because DIY is shameful, but because the cost of floor replacement on a second attempt is always higher than the cost of doing it right the first time.
— G
Ready to start your floor replacement with confidence?
If you've read this far, you already understand the floor replacement process better than most homeowners who've already attempted one. Floor2you brings that same depth of knowledge to every project in South Florida, handling everything from subfloor assessment through final trim installation with craftsmanship you can see and a timeline you can count on.

Whether you're upgrading a single room or managing a full property renovation, the team at Floor2you gives you professional guidance, quality materials, and a clear process from first contact through project completion. Airbnb hosts, property managers, and homeowners throughout South Florida trust Floor2you to deliver floors that hold up and look great for years. Explore flooring solutions and get a quote that actually matches what you need.
FAQ
What is the first step in the floor replacement process?
The first step is clearing the room completely and removing baseboards before pulling up any existing flooring. This exposes the subfloor so you can inspect and prepare it properly before installation.
How long does a typical floor replacement take?
Most floor replacement projects take 3 to 7 days total, including 2 to 5 days of material acclimation plus 1 to 2 days for removal, subfloor prep, and installation. Moisture mitigation or extensive leveling can add additional time.
Do I need to test moisture before installing new floors?
Yes, especially on concrete slabs. ASTM F2170 probes measure internal slab humidity, and most manufacturers require RH below 75 to 85 percent before installation to prevent adhesive failure and flooring damage.
What is the cost of floor replacement for an average room?
The cost of floor replacement varies widely based on material, square footage, and subfloor condition, but homeowners typically spend between $3 and $12 per square foot for materials and installation combined. Subfloor repairs, moisture mitigation, or hardwood selection add to that range.
Can I do a DIY floor replacement with click-lock vinyl plank?
Yes. Click-lock LVP is the most accessible option for DIY floor replacement, provided your subfloor is flat within 3/16 inch per 10-foot span and moisture levels are within acceptable limits. Complex layouts or large areas benefit from professional installation.