TL;DR:
- Proper preparation, including moisture barriers and acclimation, is essential for successful laminate flooring.
- Following a step-by-step process reduces errors and ensures a professional-looking finish.
- In South Florida, moisture control and local expertise are crucial to prevent damage and buckling.
New floors can completely change how a room feels, but the process of getting there can seem overwhelming. Many South Florida homeowners want updated floors without a full renovation budget, and laminate delivers exactly that. It's durable, stylish, and more forgiving than hardwood during installation. The challenge is knowing exactly where to start and what to do next. This guide walks you through every step, from gathering tools to the final cleaning routine, so you can approach your project with real confidence, whether you plan to do it yourself or bring in a professional.
Table of Contents
- Essential tools and materials for laminate flooring installation
- Preparing your space for laminate flooring
- Step-by-step laminate flooring installation process
- Finishing touches and post-installation care
- Our take: What most guides miss about laminate flooring installation
- Get expert flooring help or quality laminate, delivered
- Frequently asked questions
Key Takeaways
| Point | Details |
|---|---|
| Preparation is everything | Proper prep work prevents costly mistakes and ensures smooth installation. |
| Follow each step methodically | A detailed, sequential approach makes even complex rooms manageable. |
| Choose the right materials | Quality underlayment and tools deliver lasting performance in South Florida’s climate. |
| Finishing and care matter | Attention to baseboards and routine cleaning keeps laminate floors looking new. |
Essential tools and materials for laminate flooring installation
With the promise of beautiful new floors, the first step is getting fully equipped for the job. Showing up without the right tools is one of the easiest ways to turn a manageable weekend project into a frustrating one.
Here's what you'll need before you open a single box of planks:
- Spacers (1/4 inch) to maintain expansion gaps along walls
- Tapping block to protect plank edges while locking rows together
- Pull bar for fitting planks tight near walls
- Circular or miter saw for cutting planks to length
- Jigsaw for cutting around door frames and irregular shapes
- Tape measure and pencil for marking cuts
- Safety glasses and knee pads for comfort and protection
- Rubber mallet for tapping boards into place
On the materials side, you'll need the laminate planks themselves, underlayment options suited to your subfloor type, a moisture barrier (especially critical in South Florida), and transition strips for doorways and room edges. The best flooring for South Florida homes balances moisture resistance with style, and laminate checks both boxes when installed correctly.
Laminate flooring requires specific tools and underlayment for proper installation. Underlayment does more than cushion your steps. It acts as a barrier between your subfloor and the laminate, reducing noise, preventing moisture from seeping up, and adding slight thermal insulation. Skipping it is never a good idea, particularly in homes near coastal areas where humidity can be relentless.
Here's a quick reference table to keep your checklist organized:
| Item | Purpose | Estimated Cost |
|---|---|---|
| Laminate planks | Main flooring surface | $1.50 to $4 per sq ft |
| Underlayment | Moisture and sound barrier | $0.25 to $0.60 per sq ft |
| Spacers | Expansion gap control | $5 to $10 per pack |
| Transition strips | Room and doorway edges | $10 to $30 each |
| Tapping block and pull bar | Plank alignment | $15 to $25 for set |
For additional installation tips on tool selection and material compatibility, it helps to cross-reference with product specifications before purchasing.
Pro Tip: Always buy at least 10% more laminate than your square footage calculation. Cuts create waste, and you'll want spare planks on hand if a board cracks or you make an error on a tricky angle cut.
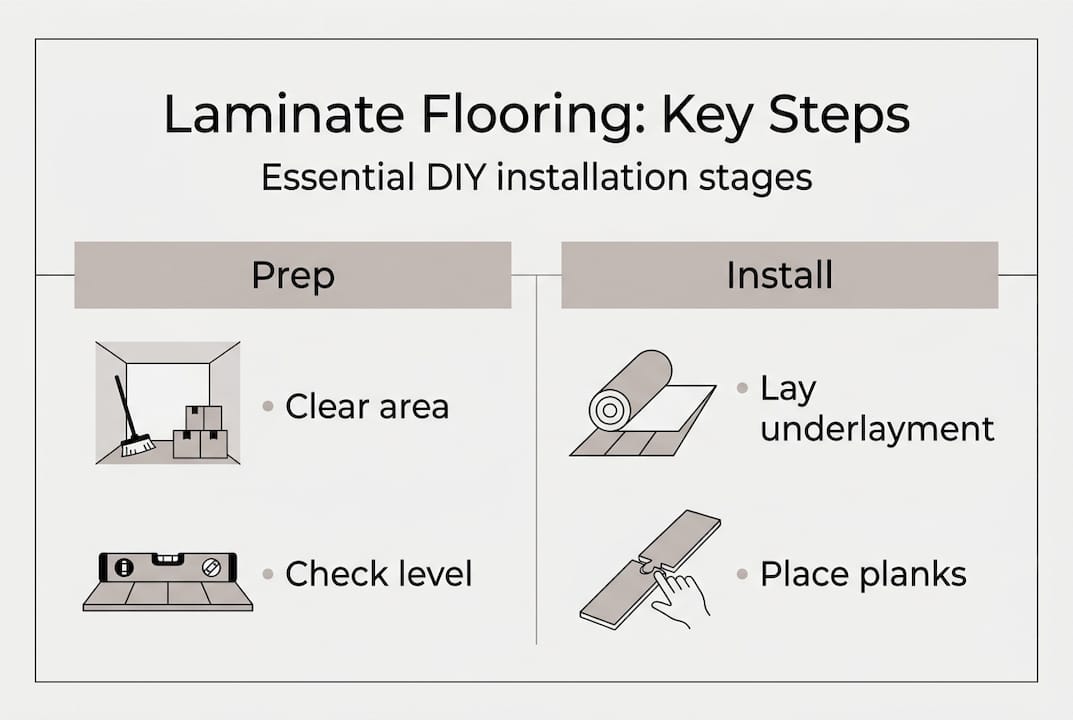
Preparing your space for laminate flooring
Now that you have your tools and materials, it's time to prep your space for a flawless installation. Skipping preparation is the most reliable way to regret a project that could have gone smoothly.
Start by acclimating your laminate boards. Bring the unopened boxes into the room where you'll be installing and let them sit for at least 48 hours. This allows the planks to adjust to your home's temperature and humidity, which reduces warping after installation. In South Florida, where indoor humidity can shift noticeably with the seasons, this step matters more than most guides admit.
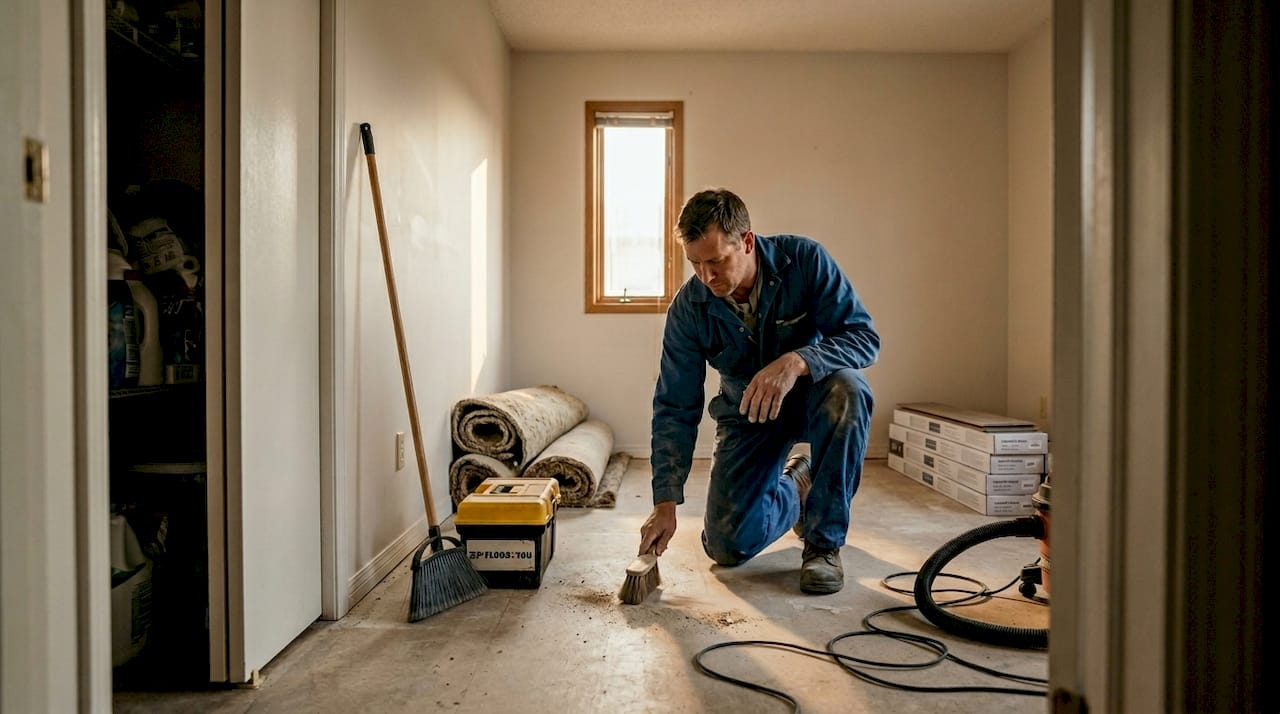
Next, work through this preparation checklist:
- Remove all furniture from the room
- Pull up existing flooring (carpet, old vinyl, or loose tiles)
- Carefully remove baseboards using a pry bar, labeling each piece so reinstallation is easy
- Sweep, vacuum, and mop the subfloor to remove all debris
- Check for squeaks, loose boards, or high spots in the subfloor
- Fill low spots with floor leveling compound and let it cure fully
- Inspect for moisture using a moisture meter; readings above 12% signal a problem
Proper subfloor preparation is essential for a successful laminate floor installation. Any unevenness greater than 3/16 of an inch over a 10-foot span can cause planks to flex, creak, or separate over time.
Safety note: Always turn off power tools before adjusting blades or changing settings. Keep cords away from cutting paths and wear safety glasses whenever you're sawing.
Review detailed subfloor preparation steps to make sure nothing gets overlooked before you begin laying planks.
Pro Tip: Snap chalk lines across the room parallel to your starting wall. These reference lines keep your rows straight as you work across the floor, preventing the gradual drift that makes finished floors look crooked from the doorway.
Step-by-step laminate flooring installation process
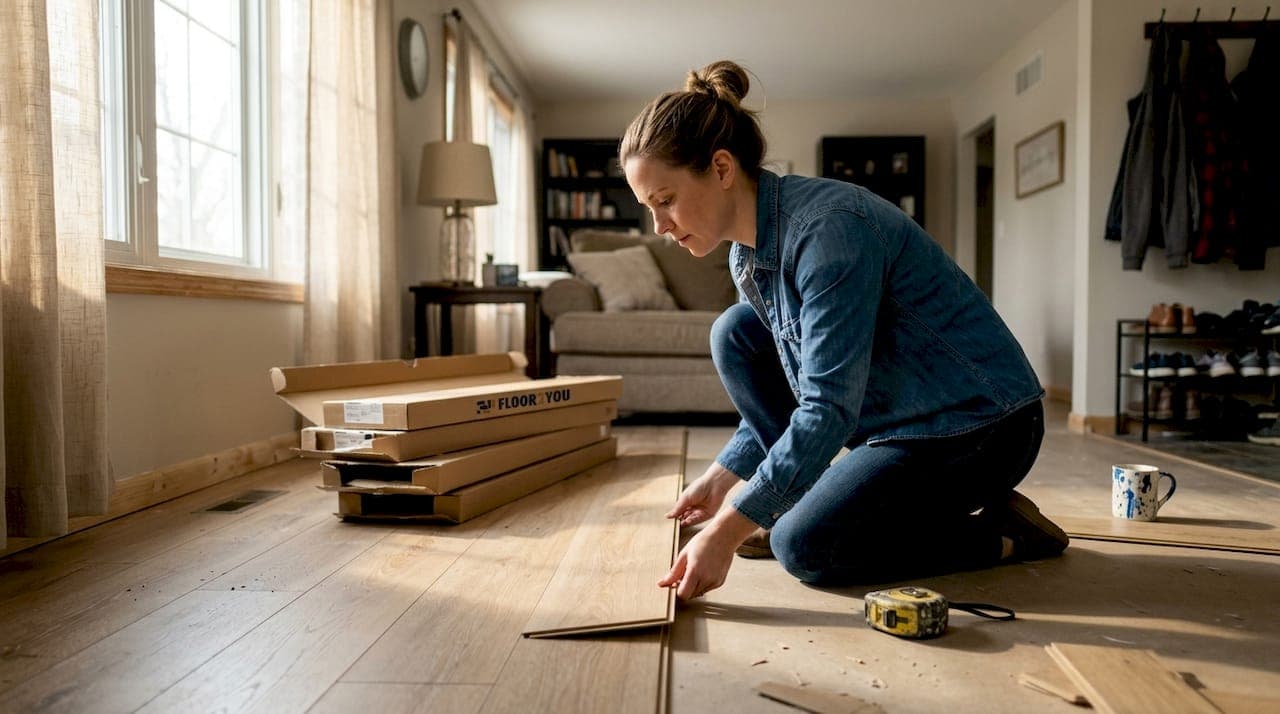
With the space perfectly prepped, you're ready for the core part: laying the laminate flooring. Follow these steps in order, and don't rush any of them.
- Roll out underlayment across the entire subfloor, taping seams together with the manufacturer-recommended tape. Do not overlap sections.
- Plan your layout by dry-fitting the first two rows before locking anything in place. This helps you see how planks will align at walls and doorways.
- Start your first row along the longest, straightest wall, with spacers between planks and the wall to allow for expansion.
- Lock each plank by angling it into the previous one at about 45 degrees and pressing down until the click-lock joint engages.
- Stagger seams by at least 8 inches between rows. Start every other row with a cut piece so end joints never line up.
- Use your tapping block and rubber mallet to close any gaps between rows. Never hit planks directly.
- Cut planks for the final row using a table saw or circular saw. Measure each piece individually since walls are rarely perfectly straight.
- Handle doorways and transitions with a jigsaw for curved cuts and install transition strips between rooms or different flooring types.
Following each installation step methodically reduces errors and improves results significantly. The technique is the same whether you're working with laminate or hardwood.
For a full visual walkthrough, the install laminate instructions from Lowe's are a helpful supplement to this guide.
Here's a quick reference for common mistakes at each stage:
| Step | Common mistake | Estimated time |
|---|---|---|
| Underlayment | Overlapping seams | 30 to 60 minutes |
| First row | Starting out of square | 30 to 45 minutes |
| Locking planks | Forcing planks at wrong angle | 2 to 4 hours |
| Staggering seams | End joints too close together | Ongoing throughout |
| Final row cuts | Measuring once, cutting wrong | 30 to 60 minutes |
Most DIYers complete a medium-sized room in 1 to 2 days, which makes this one of the more approachable weekend projects in home improvement. Experience and room shape are the two biggest factors in how long it takes.
Finishing touches and post-installation care
Once your new floor is down, a few final touches ensure your investment stands the test of time. This phase is quick but makes a big difference in the finished look.
Start by reinstalling your baseboards, pressing them snugly against the floor without nailing into the laminate itself. The baseboard covers the expansion gap, so it needs to sit against the floor, not clamp it. Add door transition strips wherever laminate meets tile, carpet, or another flooring surface.
Before moving furniture back in, check a few things:
- Trim the bottoms of door frames if doors no longer swing freely over the new floor height
- Replace any outlet covers or floor vents that were removed during installation
- Inspect every row for gaps or lifted edges and press them down if needed
- Sweep the entire floor to remove sawdust and debris
For your first cleaning, use a microfiber mop with a minimal amount of water and a cleaner designed specifically for laminate. The guidance on cleaning laminate floors is clear: never soak the surface, as excess moisture can seep into the seams and swell the core material over time.
Proper finishing work and maintenance extend the life of laminate flooring significantly, and the habits you build in the first weeks set the tone for years of performance.
Pro Tip: Stick felt furniture pads on the legs of every chair, couch, and table before moving them back onto your new floor. Dragging furniture is the fastest way to scratch laminate, and those marks are nearly impossible to repair.
If you're dealing with a complex layout, unusual room shapes, or a subfloor that needed significant repair, consider hiring a flooring contractor to handle the trickier sections. There's no shame in knowing when a project benefits from professional hands.
Our take: What most guides miss about laminate flooring installation
Most installation guides treat every home like it's in a climate-controlled showroom. South Florida is not that. Humidity here is not just a weather inconvenience. It's an active threat to any floor that wasn't installed with moisture control as the first priority, not an afterthought.
We've seen beautifully laid laminate buckle within months because the installer skipped a proper moisture barrier or rushed the acclimation period. The fix costs far more than doing it right the first time. This is the kind of lesson that South Florida flooring expertise is built on.
DIY laminate installation is genuinely rewarding for straightforward rectangular rooms with solid subfloors. But the moment you're dealing with multiple adjoining rooms, an irregular layout, or a subfloor that shows signs of water damage, the risk-reward math shifts. A local professional will catch issues on-site that no guide, including this one, can fully prepare you for.
Get expert flooring help or quality laminate, delivered
You now have a clear picture of what laminate flooring installation involves from start to finish. Whether you're confident in tackling it yourself or realizing you'd prefer to hand it off to a trusted team, the next step is the same.

Floor2You serves South Florida homeowners with professional laminate installation, material sourcing, and full renovation support. We understand the local conditions that can make or break a flooring project, and we bring that experience to every job. Browse Floor2You laminate flooring options to explore materials, request a quote, or schedule a consultation with our team. Getting beautiful floors is closer than you think.
Frequently asked questions
How long does it take to install laminate flooring in a typical room?
Most DIYers complete installation in a medium-sized room within 1 to 2 days, depending on experience and room layout complexity.
Do I need to remove baseboards to install laminate flooring?
Baseboards should be removed before installing laminate flooring because it ensures a cleaner finish and allows proper room for the required expansion gap.
What type of underlayment is best for South Florida homes?
A moisture-resistant underlayment is the right choice for South Florida. Underlayment protects laminate floors from humidity and adds underfoot comfort in the process.
Can I install laminate flooring over tile or concrete?
Yes, both surfaces work as a base, but the surface must be flat, clean, and completely dry. Laminate can be installed over tile or concrete with the correct preparation and underlayment in place.
What maintenance does laminate flooring require?
Regular dry sweeping and occasional damp mopping keeps laminate looking fresh for years. Laminate should never be soaked with water, as moisture can damage the core material over time.