TL;DR:
- Proper moisture testing and slab preparation are critical to prevent tile failure in South Florida.
- Selecting the right tile material, such as porcelain, is essential for durability in humid, high-traffic areas.
- Investing in vapor barriers and accurate subfloor prep ensures long-lasting, mold-free tile floors.
Tile flooring looks stunning until it buckles, cracks, or grows mold underneath because someone skipped a moisture test. In South Florida, that scenario plays out more often than most contractors want to admit. The combination of concrete slabs, year-round humidity, and intense foot traffic creates a unique set of challenges that generic flooring guides simply don't address. Get the material wrong, rush the subfloor prep, or ignore vapor risks, and you're looking at a costly redo within a few years. This guide walks you through every decision, from clarifying your needs to laying the last tile, so your floor looks great and holds up for decades.
Table of Contents
- Identify your needs and environment
- Selecting the right tile: materials, types, and ratings
- Prepping your subfloor for success
- Installation basics: tools, workflow, and common mistakes
- What most guides miss about selecting tile flooring in Florida
- Ready to select and install the perfect tile?
- Frequently asked questions
Key Takeaways
| Point | Details |
|---|---|
| Assess your needs | Consider room function, moisture, and traffic before choosing tile. |
| Match material to climate | Porcelain and specific natural stones handle Florida’s humidity best. |
| Prep the subfloor | Proper moisture testing and leveling are non-negotiable for lasting tile. |
| Invest in installation | The right tools and workflow are critical to avoid costly tile failures. |
| When to call a pro | Complex prep or moisture issues demand professional help for best results. |
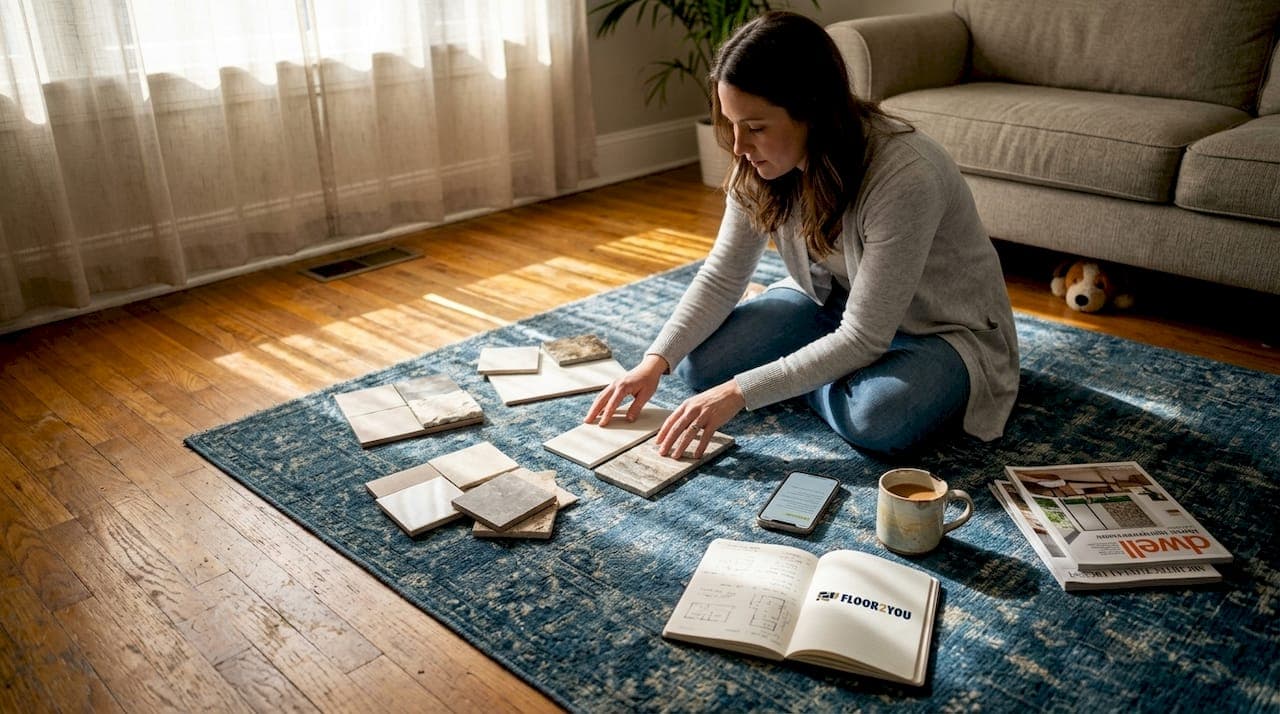
Identify your needs and environment
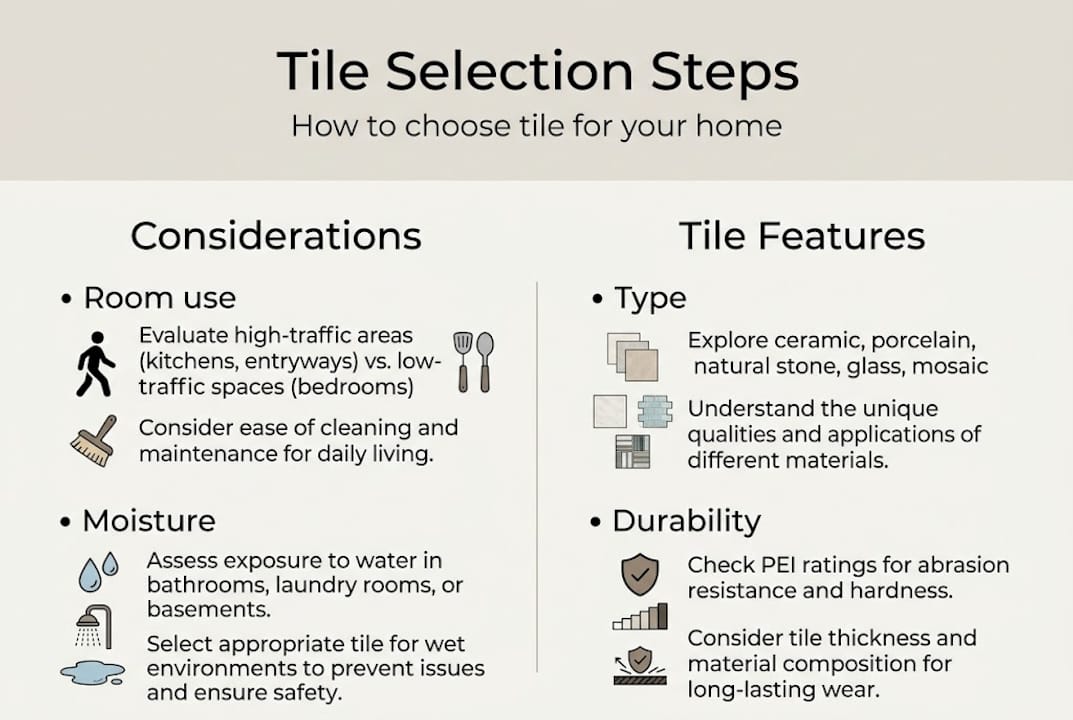
Before you walk into a tile showroom, you need a clear picture of what you're actually solving for. The room matters enormously. A bathroom needs something waterproof and slip-resistant. A living room needs comfort and durability. A kitchen needs both, plus something that can handle dropped pots and spilled liquids without staining.
Start by thinking about how each space gets used every day. High-traffic areas like hallways and kitchens need tiles rated for heavy wear. Rooms with pets or kids need surfaces that are easy to clean and resistant to scratching. Bathrooms and laundry rooms on a concrete slab, which is extremely common in South Florida, need serious moisture management built into the plan from day one.
Here are the key questions to answer before you start shopping:
- How much foot traffic does the room handle daily?
- Are there pets or young children in the home?
- Is the room on a concrete slab or above a wood subfloor?
- What style fits the rest of your home (modern, coastal, traditional)?
- How much time are you willing to spend on grout cleaning and maintenance?
- Do you want a warmer, softer feel underfoot, or is durability the top priority?
One comparison that comes up constantly for South Florida homeowners is tile versus luxury vinyl plank (LVP). Tile is unbeatable for moisture and durability but can feel hard and loud underfoot, and grout lines require regular upkeep. LVP feels warmer and quieter but may wear faster under extreme traffic. You can explore a deeper breakdown of flooring types for South Florida to weigh both options side by side, or check out the advantages of vinyl flooring if you're still on the fence.
For most South Florida homeowners, tile wins in wet areas and high-traffic zones. The key is matching the right tile to the right room, not just picking what looks good in a photo.
Pro Tip: Visit model homes or tile showrooms in your neighborhood before buying. Seeing tile in a real room with natural light gives you a far better sense of color, scale, and texture than any website photo.
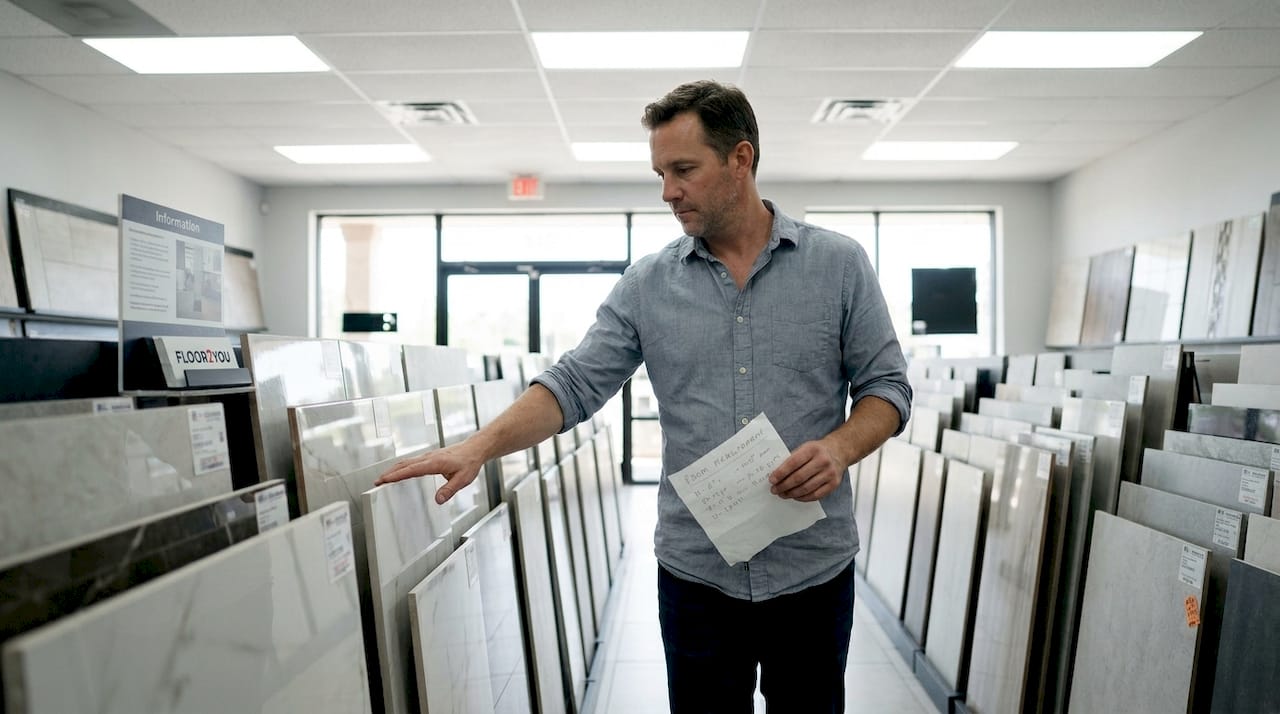
Selecting the right tile: materials, types, and ratings
With your needs mapped out, it's time to look at what's actually on the market and figure out what works best for your home.
The four most common tile types you'll encounter are porcelain, ceramic, natural stone, and specialty tiles like glass or cement. Each has a different performance profile, and the differences matter a lot in South Florida's climate.
| Tile type | Water resistance | Durability | Maintenance | Best for |
|---|---|---|---|---|
| Porcelain | Excellent | Very high | Low to moderate | All areas, especially wet zones |
| Ceramic | Good | Moderate | Low | Interior dry to moderate areas |
| Natural stone | Varies (needs sealing) | High | High | Accent areas, luxury spaces |
| LVP (comparison) | Very good | Moderate to high | Very low | Bedrooms, living areas |
Porcelain is the workhorse of Florida tile installations. It absorbs very little water, handles heat, and resists cracking better than ceramic. Ceramic costs less but is more porous, which makes it a riskier choice near water. Natural stone like travertine offers a high-end look and real luxury value, but it needs regular sealing to stay protected in humid conditions.
When you're reading tile packaging, check these ratings before you buy:
- PEI rating (1 to 5): Measures abrasion resistance. Use PEI 3 or higher for floors, PEI 4 or 5 for heavy-traffic areas.
- COF (coefficient of friction): Measures slip resistance. Look for 0.60 or higher for floor tiles, especially in bathrooms.
- Water absorption rate: Porcelain absorbs less than 0.5%, ceramic absorbs up to 3%. Lower is better for Florida.
Color, texture, and tile size also affect your day-to-day experience. Lighter tiles show dust more easily but make rooms feel bigger. Textured surfaces grip better but trap dirt in the grooves. Larger tiles mean fewer grout lines, which means less cleaning, but they also demand a flatter subfloor to look right.
Pro Tip: Large-format tiles (24x24 inches or bigger) look incredibly modern and reduce visible grout lines dramatically. Just know they require a nearly perfect subfloor, so budget for extra prep work if you go that route.
For a full look at how understanding vinyl options compares to tile across cost and performance, that resource breaks it down clearly.
Prepping your subfloor for success
Once you've picked your tile, ensuring a proper installation starts with solid subfloor prep. This is the step most homeowners underestimate, and it's also the step that causes the most expensive failures.
In South Florida, the vast majority of homes sit on concrete slabs. Concrete looks solid, but it breathes. Moisture moves up through it constantly, especially during our rainy season. If you install tile over a slab that's releasing too much vapor, the adhesive bond breaks down, tiles pop loose, and mold can develop underneath.
Here are the subfloor prep steps you need to follow before any tile goes down:
- Test for moisture. Use a calcium chloride or relative humidity (RH) test kit. According to floor leveling standards, concrete must meet acceptable vapor emission levels before tile adhesive is applied.
- Check for flatness. The slab should be flat within 1/8 to 1/4 inch over a 10-foot span. Use a long straightedge or level to find high and low spots.
- Repair cracks. Fill hairline cracks with a flexible patching compound. Larger structural cracks need professional assessment before you proceed.
- Clean thoroughly. Remove all dust, grease, paint, and adhesive residue. Tile adhesive bonds to clean concrete, not to whatever's sitting on top of it.
- Apply vapor mitigation if needed. If moisture readings are too high, a vapor barrier or moisture mitigation coating is required before thinset goes down.
| Subfloor factor | Target standard | Why it matters |
|---|---|---|
| Moisture (RH test) | Below 75% RH | Prevents adhesive failure |
| Flatness tolerance | 1/8" to 1/4" over 10 ft | Prevents lippage and cracking |
| Crack repair | No open cracks | Prevents tile movement |
| Vapor barrier | Required on FL slabs | Blocks rising moisture |
Expert warning: Skipping the moisture test on a Florida slab is one of the most common and costly mistakes in tile installation. By the time you see a problem, the tile is already failing from underneath.
For more detail on using vapor barriers in Florida and what underlayment benefits and tips apply to your specific situation, both resources are worth reviewing before you start.
Installation basics: tools, workflow, and common mistakes
Proper subfloor prep sets you up for a smooth installation, but choosing the right tools and process closes the loop. Even a great tile choice fails if it's installed with the wrong adhesive or a rushed layout.
Here's what you need on hand before you start:
| Tool or material | Purpose |
|---|---|
| Notched trowel | Spreads thinset evenly |
| Tile spacers | Maintains consistent grout lines |
| Rubber mallet | Sets tiles without cracking |
| Wet saw or tile cutter | Cuts tiles to fit edges and corners |
| Level and straightedge | Checks flatness during install |
| Thinset mortar | Bonds tile to subfloor |
| Grout float | Applies grout between tiles |
The installation workflow follows a clear sequence. Start by finding the center of the room and dry-fitting tiles outward from that point. This prevents you from ending up with tiny slivers of tile along one wall. Once the layout looks right, mix your thinset to a peanut butter consistency and spread it in small sections. Press each tile firmly, using spacers to keep lines even. Let the thinset cure fully before grouting.
These are the mistakes that show up most often on job sites:
- Starting from a wall instead of the center of the room
- Using the wrong thinset for large-format or heavy stone tiles
- Rushing grout application before thinset is fully cured
- Skipping proper subfloor leveling before laying tile
- Forgetting to seal grout after it cures
Pro Tip: Always buy 10 to 15 percent more tile than your square footage requires, and make sure all tiles come from the same production batch. Tile color can vary slightly between batches, and having extras from the same batch saves you from a visible mismatch if you ever need a repair.
For pattern designs, diagonal layouts, or large-format tiles over 18 inches, the margin for error shrinks fast. If you want a step-by-step flooring install reference for comparison, that guide covers the core workflow principles that apply across flooring types.
What most guides miss about selecting tile flooring in Florida
Most national tile guides treat subfloor prep as a footnote. In Florida, it's the entire story.
The advice you find on generic home improvement sites was written for homes in dry climates with wood subfloors. It doesn't account for the vapor pressure that builds up under a South Florida concrete slab during summer. It doesn't warn you that skipping moisture mitigation on a Florida slab can cause tile failure within 12 to 18 months. That's not a worst-case scenario. That's a pattern we see regularly.
Here's the honest truth: tile is genuinely unbeatable for durability in Florida's wet conditions, but only when the foundation is right. The homeowners who end up with beautiful, long-lasting floors are the ones who overprepared. They tested moisture twice. They fixed the crack they almost ignored. They used a vapor barrier even when the contractor said it was probably fine without one.
The real difference between a floor that lasts 30 years and one that fails in two comes down entirely to what happens before the first tile is laid. Invest in the best flooring foundation for your home, and the tile itself becomes almost secondary.
Ready to select and install the perfect tile?
You now have a solid foundation for making smart tile decisions, from choosing the right material to prepping your slab correctly. The next step is putting it all into action.

At Floor2You, we work with South Florida homeowners every day to match the right tile to the right space and install it the right way. Whether you want to browse tile styles that fit your home's look or need help with moisture testing and subfloor prep, our team is ready to guide you. Check out our South Florida flooring guide for even more detail, or reach out directly to schedule a consultation. We make the process straightforward, from the first question to the finished floor.
Frequently asked questions
How do I test my concrete slab for moisture before tile install?
Use a calcium chloride or relative humidity (RH) test kit placed directly on the slab. Concrete moisture testing should be completed before any adhesive or tile is applied to avoid bond failure.
What's the difference between porcelain and ceramic tile for Florida homes?
Porcelain absorbs less than 0.5% water compared to ceramic's 3%, making it far more resistant to Florida's humidity. For wet areas and slab-level rooms, porcelain's low absorption gives it a clear advantage.
Are large-format tiles a good idea?
Large-format tiles look sleek and reduce grout lines, but they demand a very flat subfloor. Proper slab leveling to within 1/8 inch over 10 feet is essential before installing tiles larger than 18 inches.
Do I need a vapor barrier under tile in Florida?
Yes. Florida slabs release moisture year-round, and vapor barriers on slabs are strongly recommended to prevent adhesive failure, tile popping, and mold growth beneath the surface.