TL;DR:
- Proper moisture testing and acclimatization are vital for successful hardwood installation in South Florida.
- Following precise installation steps prevents warping, gaps, and squeaks caused by regional humidity.
- Ongoing humidity control and regular maintenance ensure hardwood floors last 30 years or more.
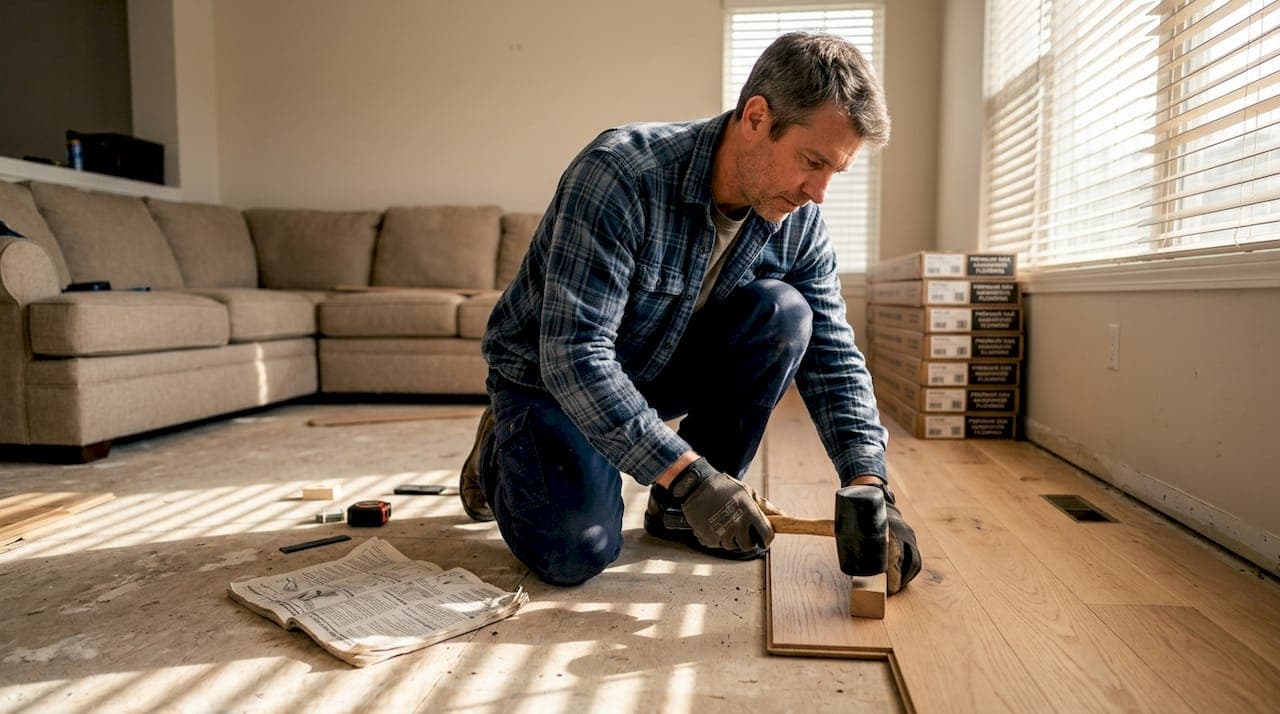
Hardwood floors can transform any South Florida home, adding warmth, value, and a timeless look that tile and vinyl simply cannot match. But for many homeowners here, the idea of installing hardwood feels overwhelming, especially when you factor in our relentless humidity, salt air, and temperature swings. Get it wrong, and you are looking at warped boards, squeaky floors, and a costly redo. Get it right, and you have a floor that could last 30 years or more. This guide walks you through every stage of the process, from gathering materials to finishing touches, with practical tips built specifically for South Florida conditions.
Table of Contents
- What you need before installing hardwood flooring
- Step-by-step hardwood flooring installation process
- Common mistakes and troubleshooting during installation
- How to finish and care for your new hardwood floor
- A professional perspective on hardwood installation in South Florida
- Upgrade your home with professional craftsmanship
- Frequently asked questions
Key Takeaways
| Point | Details |
|---|---|
| Thorough preparation | Proper planning and acclimatizing materials guarantee lasting results. |
| Step-by-step process | Following each installation step reduces risk of mistakes. |
| Region-specific care | Humidity control is crucial for South Florida hardwood flooring longevity. |
| Professional advantage | Hiring experts can save time and prevent costly errors. |
What you need before installing hardwood flooring
Starting strong means setting yourself up before a single board hits the floor. In South Florida, the preparation stage is even more critical than in drier climates. Our average indoor humidity can hover between 60% and 80%, which directly affects how wood behaves. Skipping or rushing prep is the single biggest reason installations fail here.
Tools and materials checklist
| Item | Purpose |
|---|---|
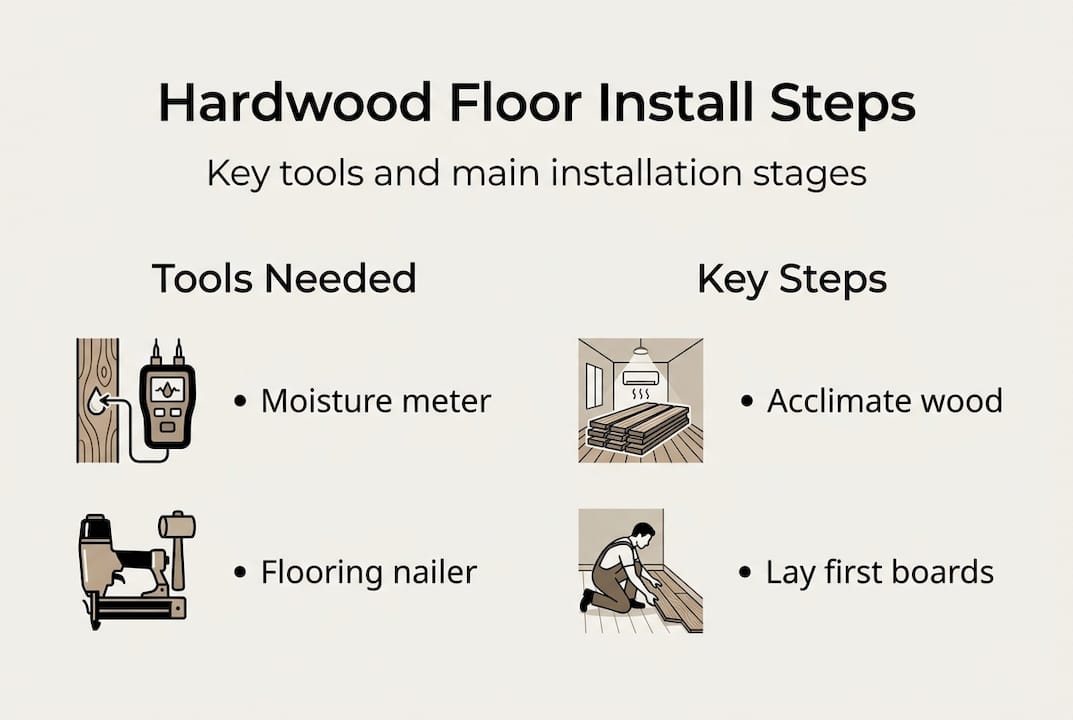
| Moisture meter | Test subfloor and wood moisture levels |
| Flooring nailer or stapler | Fasten boards securely to subfloor |
| Miter saw | Make clean, accurate cuts |
| Tapping block and pull bar | Seat boards tightly without damage |
| Vapor barrier or underlayment | Block moisture from rising subfloor |
| Spacers (3/4 inch) | Maintain expansion gap at walls |
| Chalk line | Keep rows straight |
| Hardwood planks (plus 10% extra) | Account for cuts and waste |
Before you even open a box of flooring, your subfloor needs attention. It must be clean, dry, flat, and structurally sound. Any high spots greater than 3/16 of an inch over 10 feet need to be sanded or filled. Low spots need a leveling compound. A squeaky or soft subfloor will telegraph problems straight through your new hardwood.
Common mistakes homeowners make at this stage:
- Skipping the moisture test on the subfloor
- Failing to install a vapor barrier over concrete slabs
- Ignoring minor subfloor damage or soft spots
- Opening flooring boxes and installing immediately without acclimating
- Buying exactly the right amount of wood with no buffer for waste
Acclimatization is non-negotiable in South Florida. Proper acclimatization prevents future warping by allowing the wood to adjust to your home's actual temperature and humidity before it is fastened down. Stack the opened boxes loosely in the room where they will be installed, with the HVAC running as normal.
Pro Tip: Let your hardwood acclimate for at least 72 hours inside your home before installation. In especially humid months, 5 to 7 days is even better. Check moisture content with a meter: the wood should read within 2% to 4% of the subfloor reading.
Step-by-step hardwood flooring installation process
With your materials ready and your wood acclimated, you can move into the actual installation. Following each step in order matters. Cutting corners here leads to gapping, uneven surfaces, and boards that shift over time. The hardwood flooring process requires patience, but the results are worth every careful step.
Installation steps:
- Snap a chalk line parallel to the longest wall, accounting for your 3/4 inch expansion gap. This is your guide for the first row.
- Lay the first row face-nailing it close to the wall where the baseboard will cover the nails. This row sets the direction for everything that follows.
- Begin blind-nailing through the tongue of each board using your flooring nailer. Work row by row, keeping boards tight.
- Stagger the end joints by at least 6 inches between adjacent rows. Random staggering looks more natural and adds structural strength.
- Check alignment every 4 to 5 rows using your chalk line. Drift happens gradually and is easy to correct early.
- Cut the final row to fit, leaving the expansion gap, and face-nail it like the first row.
- Install transitions and baseboards to cover expansion gaps at walls and doorways.
Estimated installation time by room size:
| Room size (sq ft) | Estimated time (DIY) | Estimated time (professional) |
|---|---|---|
| Up to 150 | 6 to 8 hours | 2 to 3 hours |
| 150 to 300 | 10 to 14 hours | 4 to 6 hours |
| 300 to 500 | 16 to 20 hours | 6 to 9 hours |
On average, a professional crew installs hardwood at roughly 200 to 300 square feet per day, depending on layout complexity and subfloor conditions.
Pro Tip: Always run your boards perpendicular to floor joists when possible. This adds rigidity and prevents the floor from feeling bouncy underfoot. In most South Florida homes, joists run parallel to the shorter wall of the room.

Common mistakes and troubleshooting during installation
Even experienced DIYers run into problems. South Florida's coastal environment adds extra challenges that homeowners in drier states simply do not face. Moisture is the leading cause of failure in hardwood installation, and it shows up in ways that are not always obvious until weeks after the job is done.
Frequent installation errors:
- Installing over a wet or untested subfloor
- Skipping the expansion gap at walls, causing buckling
- Using the wrong fastener length for the subfloor thickness
- Mixing boards from different boxes without blending them visually
- Not checking for level changes at doorways and transitions
Safety warning: When using adhesives or chemical fasteners near finished areas, ensure proper ventilation. Many flooring adhesives contain volatile compounds that require open windows and protective gear. Never use solvent-based adhesives in enclosed spaces without respiratory protection.
Troubleshooting common problems:
Boards that will not click or seat properly: Check for debris in the groove. Even small dust particles can prevent a tight fit. Use a tapping block, never a hammer directly on the board.
Uneven seams between boards: This usually points to a subfloor that was not properly leveled. You can sometimes correct minor issues with a belt sander on the installed floor, but prevention is far easier.
Squeaky boards after installation: Squeaks are caused by boards rubbing against each other or against fasteners. Driving additional nails at an angle through the tongue can sometimes silence them. Persistent squeaks often mean the subfloor itself is the issue.
Pro Tip: Use your moisture meter on multiple spots across the subfloor, not just one or two. Moisture levels can vary significantly across a single room, especially in homes built on concrete slabs, which are common throughout South Florida.
How to finish and care for your new hardwood floor
Installation is only half the story. What you do in the first 48 hours after the last board goes down, and how you care for the floor over the years, determines whether your investment holds up through decades of Florida weather.
Finishing steps after installation:
- Inspect the entire floor for any raised edges, gaps, or visible fasteners. Address these before sealing.
- Sand lightly if needed to smooth any minor height differences between boards.
- Apply your chosen finish (polyurethane, oil-based, or water-based) following the manufacturer's drying time between coats. Most finishes require 2 to 3 coats.
- Allow full cure time before placing furniture. Most finishes need 24 to 48 hours before light foot traffic and up to 7 days before full use.
Ongoing care essentials:
- Sweep or vacuum with a soft-bristle attachment daily in high-traffic areas
- Use a barely damp mop only, never a wet one
- Place felt pads under all furniture legs
- Use area rugs in entryways to trap sand and grit
- Keep indoor humidity between 35% and 55% year-round with your HVAC or a dehumidifier
- Inspect for scratches or finish wear every 6 months
With consistent hardwood floor maintenance, your floors can last up to 30 years or more, which makes hardwood one of the highest-return flooring investments available to South Florida homeowners. The key is catching small problems early before they become expensive repairs.
In South Florida specifically, humidity control is the single most powerful thing you can do for your floors long-term. Running your air conditioning consistently, even when you travel, protects the wood from the expansion and contraction that leads to cracking and gapping over time.
A professional perspective on hardwood installation in South Florida
Here is something most installation guides will not tell you: the biggest mistake South Florida homeowners make is not a technical one. It is underestimating the region. People read a general installation guide, feel confident, and skip the moisture testing because it seems like an extra step. Then six months later, they call us about boards that have cupped or buckled.
South Florida is not a forgiving environment for wood. The combination of slab foundations, high ambient humidity, and seasonal rain creates conditions that punish shortcuts. We have seen beautiful wood floors fail within a year because the subfloor moisture was never tested. We have also seen 20-year-old floors that look brand new because the homeowner invested in proper prep and consistent humidity control.
DIY installation can absolutely work for motivated homeowners with the right tools and patience. But if your home has a history of moisture issues, an older concrete slab, or you are installing in a large open area, the risk of a costly mistake rises significantly. In those situations, the cost of professional installation is almost always less than the cost of fixing a failed DIY job.
Upgrade your home with professional craftsmanship
Knowing the steps is a great starting point, but executing a hardwood installation correctly in South Florida's climate takes experience, the right tools, and a deep understanding of how moisture behaves in our region. That is where having the right team makes all the difference.

At Floor2You, we work with South Florida homeowners every day to deliver flooring results that hold up beautifully for years. From subfloor assessment to final finish, our team handles every detail so you do not have to worry about warping, squeaks, or costly rework. If you are ready to upgrade your floors with confidence, connect with our South Florida hardwood experts for a consultation and quote. We make the process straightforward, transparent, and built to last.
Frequently asked questions
How long should hardwood flooring acclimate before installation?
Hardwood flooring should acclimate in your home for at least 72 hours, though in South Florida's humidity, 5 to 7 days is often better. Proper acclimatization prevents warping and ensures the wood adjusts to your home's actual conditions.
What is the best way to cut hardwood planks for a perfect fit?
Use a miter saw for straight cuts and a jigsaw for curves, always measuring twice before cutting. Following key installation steps like accurate cutting prevents gapping and uneven surfaces that are difficult to fix after the fact.
How do I prevent moisture problems with hardwood floors in South Florida?
Always test subfloor moisture with a meter before installation and use a proper vapor barrier, especially over concrete slabs. Since moisture is the leading cause of hardwood failure, this step protects your entire investment.
How soon can I walk on new hardwood floors after installation?
You can walk on floors carefully right after installation, but avoid heavy furniture and wet cleaning for at least 24 to 48 hours. Consistent hardwood floor maintenance from day one extends the life of your floor significantly.