
TL;DR:
- Coordinating kitchen upgrades involves sequencing design decisions and construction phases to prevent conflicts and rework. Starting with cabinet style and layout ensures that all finishes and fixtures flow cohesively, while locking decisions early keeps projects on schedule. Proper planning, including contingency budgeting and detailed scheduling, is essential for a smooth, functional, and cohesive kitchen remodel.
Coordinating kitchen upgrades means organizing every renovation decision, from layout and cabinetry to paint and hardware, in a logical sequence that keeps construction moving and your design cohesive. Done right, this process, known in the industry as design-build coordination, prevents the costly rework and schedule stalls that derail most kitchen remodels. The biggest mistake homeowners make is treating each decision in isolation. Cabinets, countertops, flooring, and lighting are a system. When you sequence them correctly, every choice narrows and clarifies the next one.
How to coordinate kitchen upgrades: what to do before you start
Before a single cabinet is ordered or a tile is selected, you need a clear picture of what you are working with and what you want to achieve. Skipping this step is the single fastest way to blow your budget and your timeline.
Start by assessing your current kitchen layout. Measure every wall, ceiling height, window placement, and door swing. Collect appliance specs for anything you plan to keep or replace, because refrigerator depth and range width directly affect cabinet runs. Check with your local municipality about permit requirements. In South Florida, for example, electrical and plumbing work almost always requires a permit and inspection before walls close.
Here is what to gather before your first design meeting:
- Accurate room dimensions and ceiling height
- Appliance model numbers and cutout specifications
- Existing plumbing and electrical rough-in locations
- Local permit requirements for your scope of work
- A realistic budget range with a defined contingency (more on this below)
- A clear list of must-haves versus nice-to-haves
For design tools, programs like RoomSketcher, SketchUp Free, or even a detailed spreadsheet help you track decisions and costs side by side. A kitchen remodeling checklist keeps all of this organized in one place before you commit to anything.
Pro Tip: Write down your top three functional frustrations with your current kitchen before you look at a single inspiration photo. Those frustrations should drive your layout decisions, not Pinterest.
What is the right sequence for kitchen renovation steps?
The correct trade sequence avoids costly mistakes and rework during coordination. Following it is non-negotiable if you want a project that finishes on time and on budget.
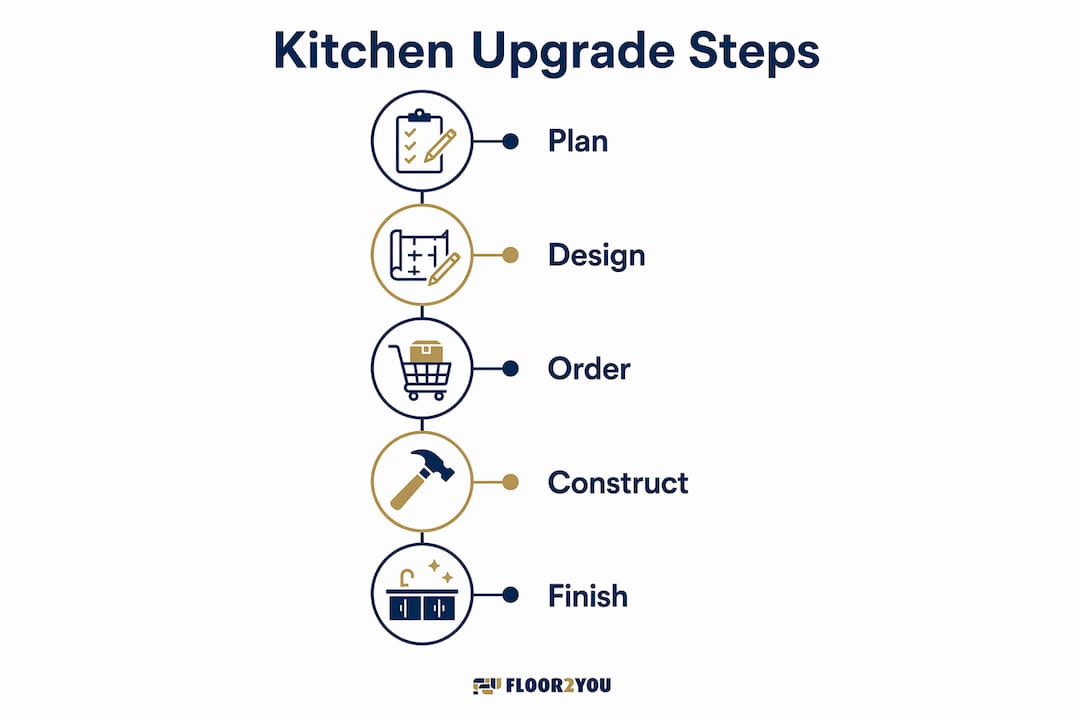
Here is the recommended order:
- Planning, design, and permits. Lock your layout, finalize cabinet specs, and pull all required permits before demolition begins.
- Demolition. Remove existing cabinets, flooring, and fixtures. This is also when you discover hidden surprises like outdated wiring or water damage.
- Framing and structural work. Relocate walls, add soffits, or open up the ceiling if your layout requires it.
- Rough-in plumbing, electrical, and HVAC. All pipes, wires, and duct runs go in before walls close. Appliance locations must be confirmed at this stage.
- Insulation and drywall. Walls close only after inspections pass. Do not rush this milestone.
- Flooring installation. Tile, hardwood, or luxury vinyl plank goes down before cabinets in most sequences, so base cabinets sit on top of the finished floor.
- Cabinet installation. Upper cabinets first, then base cabinets. Cabinet height and placement directly affect countertop fabrication and backsplash tile layout.
- Countertop templating and fabrication. Countertops are measured after cabinets are set. Stone fabrication typically takes one to three weeks.
- Backsplash installation. Tile work happens after countertops are set so cuts are precise.
- Finish plumbing and electrical. Fixtures, outlets, switches, and under-cabinet lighting are installed and connected.
- Appliance installation. Refrigerators, ranges, and dishwashers go in last to protect finished surfaces.
- Paint and final details. Touch-up paint, hardware installation, and trim work complete the project.
| Phase | Key tasks | Trades involved |
|---|---|---|
| Pre-construction | Design, permits, material orders | Designer, contractor, permit office |
| Structural | Demo, framing, rough-ins | Carpenter, plumber, electrician |
| Enclosure | Insulation, drywall, inspections | Drywaller, inspector |
| Finishes | Flooring, cabinets, countertops, backsplash | Flooring installer, cabinet installer, fabricator, tile setter |
| Completion | Fixtures, appliances, paint, hardware | Plumber, electrician, painter |
Pro Tip: Order cabinets and countertop materials the moment your layout is locked. Custom cabinetry can take six to twelve weeks to build and cure before delivery. Waiting until demolition starts is a guaranteed schedule stall.
How to coordinate design choices for a cohesive kitchen
The design funnel approach starts with cabinets, layout, and function, then cascades decisions outward, which simplifies choices and prevents contradictions. This is the framework professional designers use, and it works because each decision narrows the field for the next one.
Start with cabinets and layout
Layout, storage access, and workflow must be locked before any finish decisions are made. Cabinet door style, color, and finish set the visual tone for everything else. A white shaker cabinet opens the door to almost any countertop. A dark navy flat-front cabinet narrows your countertop palette considerably, which is not a problem as long as you know it going in.

Anchor your surfaces around undertones
Coordinating surfaces means choosing one anchor surface, either your floor tile or your countertop palette, and then matching the undertones of every other surface to it. Warm undertones (cream, beige, gold) clash with cool undertones (gray, blue, white) when mixed carelessly. Pick a temperature and stay consistent across your countertop, backsplash, and floor.
Avoid these common coordination mistakes
- Choosing a backsplash tile before countertops are confirmed, then discovering the grout color fights the stone veining
- Selecting cabinet hardware in brushed nickel while your faucet is matte black, creating a fractured metal palette
- Picking floor tile in a showroom under fluorescent lighting without testing it against your cabinet sample in natural light
- Ignoring how cabinet height and outlet placement affect backsplash tile cuts and countertop overhangs
Pro Tip: Mixing two metal finishes is acceptable. Mixing three or more reads as unplanned. If your faucet is matte black, your cabinet pulls can be matte black or unlacquered brass. Stop there.
Layered kitchen lighting also requires coordination with your layout. Ceiling fixtures, pendants over an island, and under-cabinet task lighting each need to be planned around appliance positions and cabinet runs before rough-in electrical is finalized.
How to manage budgeting and scheduling for kitchen renovations
Budget surprises are almost always a symptom of poor planning, not bad luck. Setting aside 10 to 20 percent of your total project cost as contingency reduces budget surprises, with larger structural projects requiring the higher end of that range. That contingency is not extra spending money. It is insurance against the water damage, outdated wiring, and out-of-square walls that demolition almost always reveals.
Here is how to keep your project on track financially and on schedule:
- Set a hard budget ceiling before you meet with any contractor or designer
- Build milestone check-ins after demolition, after rough-ins, and after inspections to review contingency spend
- Lock all finish selections, meaning cabinets, countertops, tile, and flooring, before demolition begins. Delayed finish decisions cause cabinet and countertop shops to miss their fabrication windows, stalling the entire project
- Track every allowance and change order in a shared document your contractor can access
- Build slack around inspector availability. Scheduling inspections before drywall closes, with buffer for inspector lead times, prevents cascading delays into flooring and cabinetry phases
Pro Tip: Ask your contractor for a written schedule with milestone dates, not just a start and end date. If they cannot provide one, that is a red flag about their project management process.
What are the most common kitchen upgrade coordination mistakes?
Most kitchen remodel problems trace back to a handful of avoidable errors. Recognizing them before you start is worth more than any design tip.
- Delaying cabinet and countertop decisions. Early coordination between design and construction teams confirms details and reduces mid-project revisions. Waiting until construction starts to finalize cabinets is the number one cause of project stalls.
- Ignoring plumbing rough-in placement. Moving a sink after rough-in means opening walls, rerouting pipes, and repatching drywall. Confirm sink and dishwasher locations on paper before a single pipe is run.
- Making finish decisions in isolation. Choosing a backsplash without your countertop sample in hand is how you end up with a kitchen that looks assembled rather than designed.
- Poor trade communication. When your electrician and your cabinet installer do not know each other's schedules, you get conflicts, delays, and rework.
- Underestimating custom lead times. Custom cabinetry requires shop-start approval and multiple finishing coats with full curing time before delivery. Treating custom cabinets like stock cabinets on your timeline is a costly assumption.
"The projects that go smoothly are the ones where every decision was made before the first wall came down. The projects that go sideways are the ones where homeowners are still picking tile during framing."
Pro Tip: Use a remodel project management guide to map your flooring and cabinetry installation sequence together. These two trades have more overlap than most homeowners expect.
Key takeaways
Coordinating kitchen upgrades successfully requires locking layout and major material decisions before construction begins, then following a strict trade sequence from rough-ins through finishes.
| Point | Details |
|---|---|
| Use the design funnel | Start with cabinets and layout, then cascade outward to countertops, backsplash, flooring, and hardware. |
| Follow trade sequence | Rough-ins before drywall, flooring before cabinets, countertops after cabinets are set. |
| Lock decisions early | Finalize all finish selections before demolition to prevent fabrication delays and schedule stalls. |
| Budget with contingency | Set aside 10 to 20 percent of total project cost for surprises revealed during demolition. |
| Coordinate undertones | Anchor all surfaces to one warm or cool palette to avoid clashes across tile, stone, and paint. |
Why function should always come before style in a kitchen remodel
Here is the honest truth most design content will not tell you: the kitchens homeowners regret are almost always the ones where style led the process. I have seen it repeatedly. A homeowner falls in love with a dramatic dark countertop, builds the entire kitchen around it, and then realizes the layout still does not work. The island blocks the refrigerator. The prep zone is on the wrong side of the sink. The kitchen looks great in photos and frustrates them every single morning.
The design funnel works because it forces you to solve the functional problems first. Where do you prep? Where do you store? How do you move between the sink, stove, and refrigerator? Those answers determine your layout, your layout determines your cabinet configuration, and your cabinet configuration determines everything else. Style fills in around a structure that already works.
The other thing I would push back on is the idea that coordination is only about aesthetics. It is really about timing. The homeowners who sail through a kitchen remodel are the ones who made every decision weeks before it was needed on site. They are not picking grout color while the tile setter is standing in their kitchen. That kind of preparation is not glamorous, but it is the difference between a six-week project and a four-month ordeal.
If you are managing this yourself, build a decision deadline calendar alongside your construction schedule. Every material needs a confirmed selection date that works backward from its installation date. That single habit eliminates more problems than any design rule.
— G
Plan your kitchen upgrade with Floor2you

Floor2you works with South Florida homeowners through every phase of kitchen remodeling, from initial layout planning and material selection to flooring installation and final finishes. If you are ready to move from inspiration to a real project schedule, Floor2you's team coordinates trades, manages timelines, and helps you make the right decisions in the right order. Explore the kitchen remodeling services Floor2you offers and see how a coordinated approach turns a complex renovation into a manageable, predictable process. You can also review why updating your kitchen design pays off in both function and home value before you commit to a scope.
FAQ
What does it mean to coordinate kitchen upgrades?
Coordinating kitchen upgrades means sequencing design decisions and construction phases so each choice logically informs the next, preventing conflicts between trades and avoiding costly rework.
What should I decide first in a kitchen remodel?
Cabinet style, color, and layout are the first decisions to lock in. Every other finish, including countertops, backsplash, and flooring, flows from those choices using the design funnel approach.
How much contingency budget should I set aside?
Set aside 10 to 20 percent of your total project cost as contingency. Larger projects with structural changes require the higher end of that range to cover surprises found during demolition.
When should flooring be installed during a kitchen remodel?
Flooring is installed after drywall is complete and before cabinets are set. This sequence allows base cabinets to sit on top of the finished floor, which simplifies leveling and protects the installation.
How do I avoid delays when coordinating kitchen trades?
Lock all finish selections before demolition begins, schedule inspections with buffer time for inspector availability, and give every trade a written milestone schedule so conflicts are caught before they cause rework.