TL;DR:
- Proper preparation, including acclimation and moisture testing, is essential for successful flooring installation in South Florida's high-humidity climate. Using the right tools, selecting moisture-resistant materials, and understanding climate-specific requirements help ensure long-lasting, warp-free floors. Hiring experienced local professionals prevents costly mistakes and guarantees a durable, aesthetically pleasing result tailored to South Florida homes.
Replacing your floors sounds straightforward until you realize halfway through that you missed a critical prep step, bought the wrong underlayment, or skipped the acclimation period entirely. These are not small oversights. In South Florida, where humidity regularly tops 80% and salt air works its way into everything, those missed steps turn into warped boards, mold buildup, and expensive do-overs. This step-by-step checklist is designed specifically for South Florida homes, walking you through every stage from setting your goals to final cleanup so your new floors last for years without problems.
Table of Contents
- Understanding your flooring installation goals
- Essential tools and materials for flooring installation
- Preparing your home for flooring installation
- Step-by-step installation procedures
- Comparing flooring types for South Florida homes
- What most installation checklists ignore: Lessons from seasoned South Florida projects
- Get expert flooring support for your next project
- Frequently asked questions
Key Takeaways
| Point | Details |
|---|---|
| Clarify installation goals | Defining your purpose, style, and budget upfront leads to a more successful flooring project. |
| Prepare the essentials | Gather all tools, materials, and safety gear before starting to avoid delays and accidents. |
| Acclimate materials | Let flooring sit in your home for 48-72 hours to prevent warping or gaps. |
| Follow step-by-step process | A structured checklist ensures every stage is completed correctly and efficiently. |
| Choose climate-ready flooring | Pick materials like vinyl or tile that handle South Florida humidity and traffic best. |
Understanding your flooring installation goals
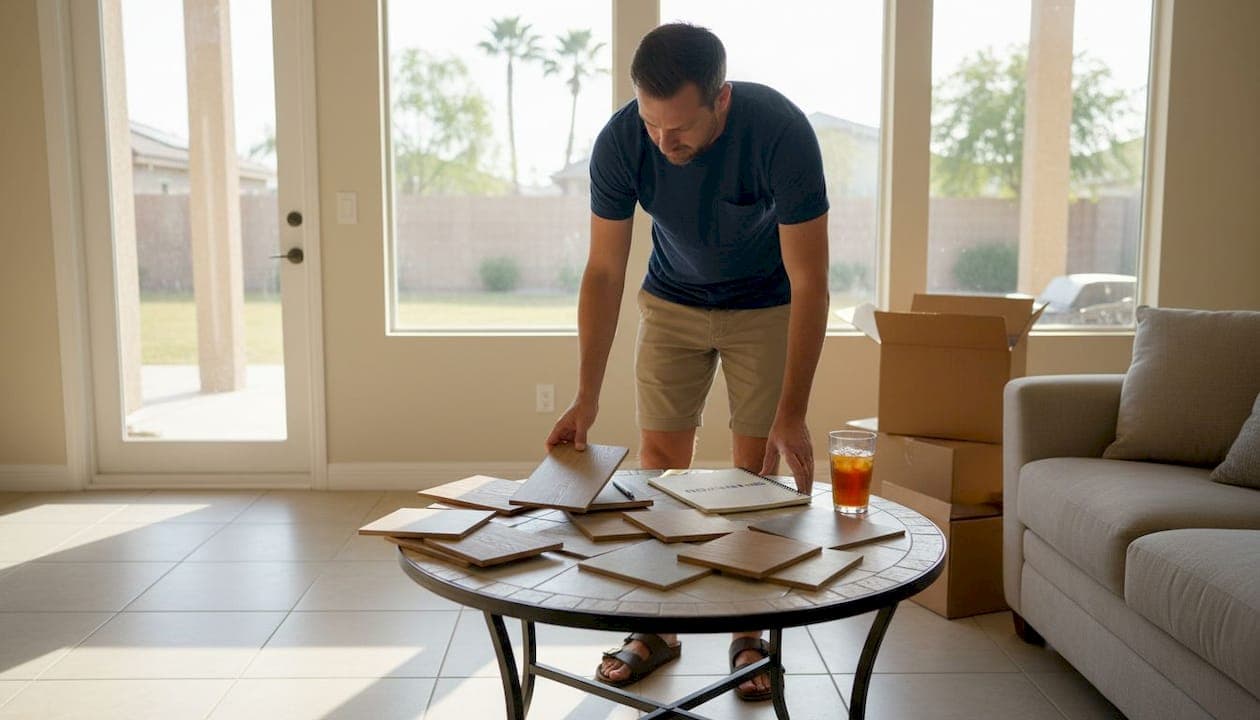
Before you pick up a single plank or tile, you need to know exactly what you want the new floor to accomplish. That sounds obvious, but most homeowners jump straight to browsing samples without deciding whether they prioritize durability, aesthetics, comfort underfoot, or resale value. Those priorities change everything from the material you choose to the installation method you use.
Start by asking yourself a few honest questions. Is this a high-traffic living area where kids run and dogs scratch the surface daily? Is it a rental property where easy maintenance matters more than luxury feel? Are you remodeling to sell, or are these floors you plan to live on for the next decade? Your answers shape your entire budget and material selection.
Speaking of budget, set a realistic one before you fall in love with a product. Material costs are only part of the equation. Labor, underlayment, adhesives, transition strips, and waste allowance typically add 20% to 30% on top of the base material price. Skipping that buffer is one of the most common reasons projects stall midway. Understanding how flooring choices and home design connect in South Florida also helps you make choices that work with your home's architecture rather than against it.
Here are the key goal-setting factors to nail down before moving forward:
- Primary purpose: durability, style, comfort, or increasing resale value
- Household profile: pets, young children, elderly family members, or high foot traffic areas
- Climate sensitivity: South Florida's humidity and occasional flooding demand moisture-resistant choices
- Style alignment: match flooring to existing design elements like cabinetry, wall color, and trim
- Resale vs. personal enjoyment: different priorities lead to very different material decisions
Pro Tip: Research the best flooring types for South Florida before committing to a product. Local climate data changes which materials make sense compared to what's trending in cooler, drier regions.
With your installation goal clarified, let's begin assembling everything you'll need for a smooth project.
Essential tools and materials for flooring installation
Walking into a project without the right tools wastes time and money. Worse, using substitutes because you did not plan ahead causes uneven cuts, improper spacing, and installations that look amateur even if the material itself is expensive.
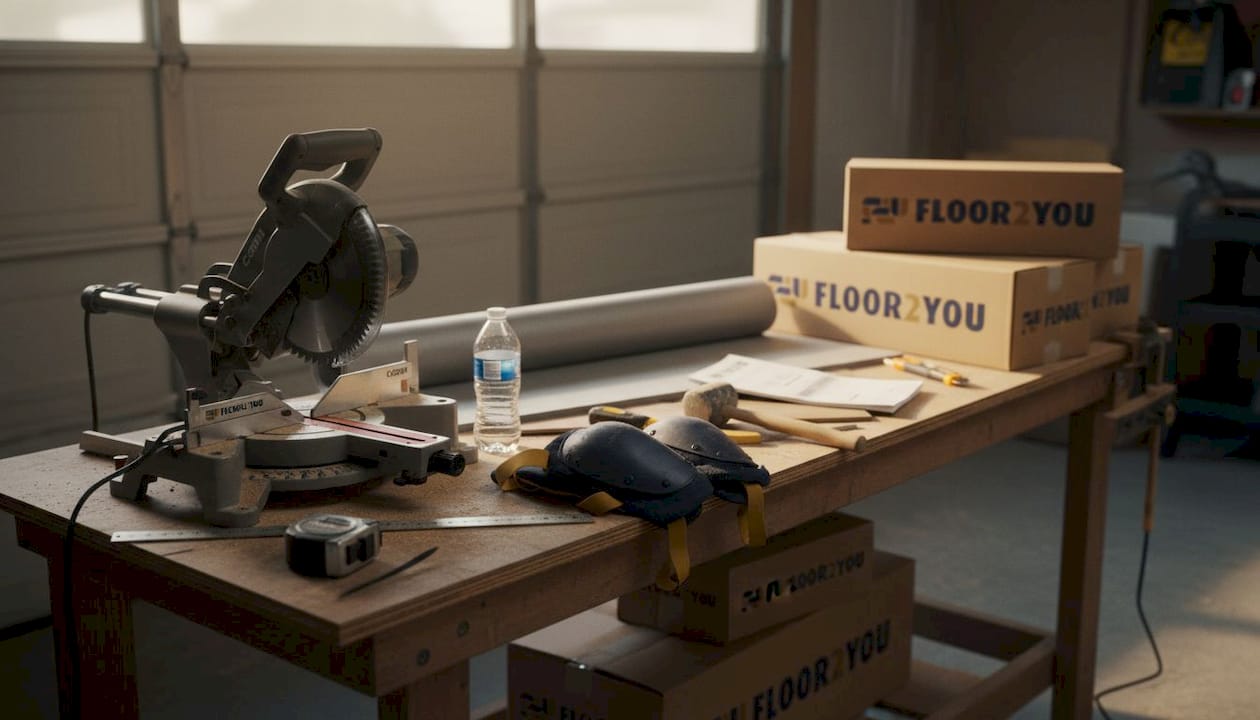
According to the DIY flooring tool checklist, here is what you need to gather before starting:
- Tape measure and chalk line for accurate layout planning
- Miter saw or circular saw for clean, precise cuts at walls and doorways
- Spacers to maintain the required expansion gap along all walls (critical in humid South Florida)
- Knee pads for hours of floor-level work without joint pain
- Tapping block and pull bar to connect planks without damaging edges
- Rubber mallet for gently seating planks into position
- Moisture meter to test the subfloor before laying anything down
- Underlayment suited for your specific flooring type and subfloor material
- Appropriate adhesives or nails depending on the installation method
- Transition strips and finishing trims for doorways, stairs, and edges
Material selection matters even more than tool selection in South Florida. Waterproof core materials like luxury vinyl plank (LVP) are designed for high-moisture environments. Standard laminate, while cheaper, can swell or delaminate when exposed to South Florida's humidity levels if not properly sealed. For tips on installing hardwood flooring specifically, the species and grade you choose dramatically affects how the wood handles heat and humidity over time.
Always buy 10% more material than your square footage calculation. Cutting waste, pattern matching, and future repairs require that buffer. Running short midway through installation and finding a discontinued dye lot later is a nightmare that a 10% overage easily prevents.
Pro Tip: Check material quantities twice before delivery day. Returning leftover boxes is far less stressful than making emergency runs to the store when you are one row short.
With tools and materials ready, attention turns to preparing your installation space.
Preparing your home for flooring installation
This stage is where most DIY projects go wrong. Preparation is unglamorous, but skipping it causes problems that show up six months later when boards start buckling or grout starts cracking.
The preparation steps before starting a flooring project in any residential setting include several non-negotiable items that are especially important in South Florida's climate:
- Clear the entire room of furniture, décor, and floor vents before materials arrive
- Acclimate your flooring by letting it sit in the installation room for 48 to 72 hours so it adjusts to your home's temperature and humidity levels
- Inspect the subfloor for soft spots, squeaks, moisture damage, and levelness (anything more than 3/16 of an inch variation over 10 feet needs to be addressed)
- Run a moisture meter reading on the subfloor and record the result before laying underlayment
- Secure children and pets in a separate part of the home during all cutting and installation phases
Ventilation during installation is not optional. Many adhesives, finishes, and underlayment products release fumes, and working in an enclosed South Florida home during summer heat makes poor air quality genuinely dangerous. Open windows, run fans, and take regular breaks outdoors. Safety precautions for residential flooring projects include wearing knee pads, safety glasses during cutting, and dust masks when sanding or cutting materials.
"A subfloor that reads above 12% moisture content on a meter is too wet to install over. In South Florida, this check is not optional. It is the step that prevents every mold and warping complaint we see six months after a rushed installation."
If you discover subfloor damage or moisture problems, consult flooring contractors in South Florida before proceeding. Laying new flooring over a damaged subfloor does not hide the problem. It accelerates it.
Proper space preparation ensures an efficient installation. Now let's go through the actual installation steps.
Step-by-step installation procedures
Follow this sequence carefully. Each step builds on the last, and skipping ahead causes problems that require undoing work you already completed.
The core preparation steps for flooring installation carry directly into the installation sequence:
- Lay your underlayment smoothly across the entire subfloor, taping seams as directed and trimming edges flush with walls
- Plan plank direction by running boards parallel to the longest wall or toward the main source of natural light for the best visual result
- Establish a straight starting line using a chalk line measured from two opposite walls
- Place spacers against all walls to maintain the correct expansion gap before placing your first row
- Install the first row with the tongue side facing the wall, checking constantly for straightness
- Stagger seams by at least 6 inches between rows to create structural stability and visual flow
- Cut end pieces to fit using your miter saw, ensuring cuts are clean and square
- Work row by row toward the opposite wall, using your tapping block and mallet to seat each plank without gaps
- Cut the final row to width using a table saw or circular saw, then press into place using a pull bar
- Install finishing trims including baseboards, quarter round, and transition strips at all doorways and floor changes
- Conduct a final inspection, checking for gaps, high spots, unsecured edges, and any debris trapped under planks
For a more detailed breakdown of each step, the detailed hardwood installation steps guide covers material-specific techniques that differ significantly from laminate or tile work.
| Installation stage | Key concern | South Florida consideration |
|---|---|---|
| Subfloor prep | Levelness and moisture | High humidity requires a moisture barrier |
| Underlayment | Cushion and sound | Choose vapor-blocking underlayment |
| Plank layout | Visual balance | Stagger seams; avoid short end cuts |
| Fitting and cutting | Precision at walls | Leave 1/4 inch expansion gap at all edges |
| Trim installation | Clean finish | Use waterproof caulk in moisture-prone areas |
| Final inspection | No gaps or loose planks | Check all transition strips are firmly secured |
With installation complete, compare flooring types to make sure your choices align with your home's needs.
Comparing flooring types for South Florida homes
Choosing the wrong material is the single most expensive mistake South Florida homeowners make. A floor that performs beautifully in a dry northern climate can fail within one rainy season here. The best flooring types for South Florida depend heavily on your specific room, lifestyle, and humidity exposure.
| Flooring type | Durability | Moisture resistance | Installation complexity | Cost range per sq ft |
|---|---|---|---|---|
| Luxury vinyl plank | Very high | Excellent | Low to medium | $3 to $8 |
| Porcelain tile | Very high | Excellent | High | $4 to $12 |
| Engineered hardwood | High | Moderate | Medium | $6 to $14 |
| Laminate | Medium | Low to moderate | Low | $2 to $6 |
| Solid hardwood | High | Low | High | $8 to $20 |
Here is what each option means in practice for South Florida homes:
- Luxury vinyl plank (LVP): The most practical all-around choice. 100% waterproof core, comfortable underfoot, and available in realistic wood and stone looks. Installs over most existing subfloors.
- Porcelain tile: Unmatched in moisture resistance and longevity. Heavy, cold underfoot, and challenging to install correctly, but the dominant choice for bathrooms, kitchens, and covered outdoor areas.
- Engineered hardwood: Offers real wood aesthetics with better dimensional stability than solid wood. Still vulnerable in very wet areas and requires careful acclimation.
- Laminate: Budget-friendly but risky in South Florida unless you choose a waterproof-core version. Standard laminate swells when moisture penetrates seams.
- Solid hardwood: Beautiful but requires strict humidity control. Appropriate for bedrooms with proper HVAC, but risky in open-plan living areas exposed to frequent door openings.
Waterproof flooring options are not a luxury upgrade in South Florida. They are the baseline standard for any ground-level or below-grade installation. A complete overview of what waterproof core technology means for long-term durability shows why waterproof flooring options outperform traditional materials in humid environments over time.
Pro Tip: Before finalizing your material choice, review modern flooring trends for 2026. Several new product lines now combine waterproof cores with improved surface textures that look nearly identical to real hardwood, giving you both performance and aesthetics without compromise.
What most installation checklists ignore: Lessons from seasoned South Florida projects
Generic flooring checklists are fine for someone in Denver. In South Florida, they leave out the specific details that determine whether your floors survive five years or fail in twelve months. We have seen it repeatedly. A homeowner finds a great price on solid hardwood, installs it beautifully, and watches it cup and crack through two rainy seasons because the material was never right for this climate.
Budget pressure is the number one reason homeowners make climate-incompatible material choices. A lower price per square foot looks attractive until you factor in the replacement cost two years later. Investing in quality flooring from the start is not about spending more for its own sake. It is about choosing materials that match the environment your home actually sits in.
The other consistently overlooked step is acclimation. Homeowners schedule a contractor for a Monday install, take delivery Saturday, and assume 48 hours in the garage qualifies. It does not. The material needs to acclimate inside the specific room where it will be installed, with the HVAC running at normal occupancy settings. A garage in South Florida can swing 20 degrees in a single day. That is not controlled acclimation.
Safety also gets minimized in DIY enthusiasm. Cutting tools, adhesive fumes, and subfloor debris cause real injuries. We have seen homeowners attempt full room installations in flip-flops with no eye protection. Wearing the right gear, keeping kids and pets out of the space, and maintaining cross-ventilation costs you nothing but pays off every time.
The honest truth is that South Florida-specific checklists look different because South Florida is different. Higher humidity, salt air near the coast, homes on concrete slabs rather than wood framing, and pest pressure all affect which materials, adhesives, and underlayment products give you the best result. A checklist built for the mid-Atlantic or Pacific Northwest simply does not account for any of that.
Get expert flooring support for your next project
Knowing the steps is valuable. Having experienced professionals execute them reliably is even better.
At Floor2You, we work exclusively in South Florida and understand exactly what it takes to get a flooring installation right the first time in this climate. From material selection that accounts for your specific home layout and humidity exposure to professional installation that meets manufacturer warranty requirements, our team manages every detail so you avoid the costly mistakes this guide warns against. Whether you are upgrading a single room, renovating an investment property, or doing a full home remodel, we bring local expertise and a proven process to every project. Reach out today to get a quote and start your project with confidence.
Frequently asked questions
Which flooring type is best for humid South Florida homes?
Waterproof options like vinyl or tile are best suited for humid South Florida climates because they resist moisture absorption and prevent mold growth under the floor surface.
How long should flooring materials acclimate before installation?
Flooring materials should acclimate for 48 to 72 hours inside the actual installation room with the HVAC running normally to prevent warping or gaps after installation.
What tools are essential for DIY flooring installation?
You will need a tape measure, miter saw, spacers, underlayment, knee pads, and the right adhesives and trims, as detailed in the complete DIY flooring guide for proper project setup.
How can I make my flooring installation safer for my family?
Remove furniture from the work area, keep pets and children out of active zones, maintain proper ventilation, and wear protective gear throughout as recommended for residential flooring projects.
Is professional installation worth it for South Florida homeowners?
Yes. Professional installers familiar with South Florida conditions ensure proper moisture management, subfloor prep, and material selection, preventing the costly mistakes that DIY projects frequently encounter in this climate.